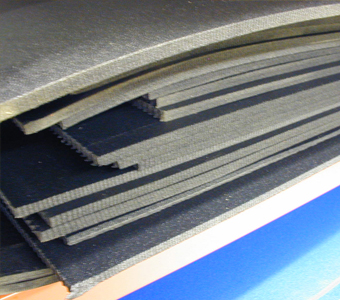
INSTRUCTIONS FOR FOAM LAMINATION USING PSA BACKING*10 sheet minimum (sheets are 4' x 9') STEP 1: CLEANUsing a cleaner or solvent such as Acetone or MEK clean the top surface of Side "C" before applying the PSA. With a gloved hand use a rag with cleaner or solvent applied to lightly wipe the surface. It is important that the waxy top coating be removed during this first step. STEP 2: HEATPSA bonds more permanently when the foam is warm. If ambient air temperature is below 70 degrees, warm the cut base pieces "C" with a hair dryer or heat gun on a LOW setting. Keep heated air flow away from any solvents used above. STEP 3: PRESSPeel off the PSA backing on Side "B" and press to Side "C" being careful to line-up the edges if you are using pre-cut foam pieces. Apply pressure to the finished insert by hand or roller if available. If you remove and reposition Side "B" to Side "C" it could weaken the final bond. STEP 4: TRIMIf you have used over-sized foam pieces for Side "A" and/or Side "C" you will now trim your final drawer insert size using an X-Acto knife or other blade. NOTE: |
|

