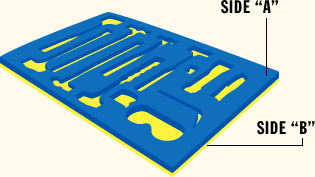
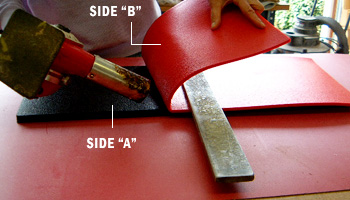
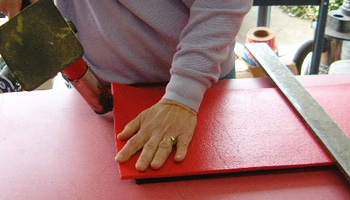
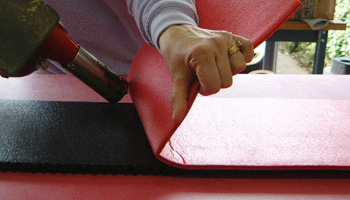
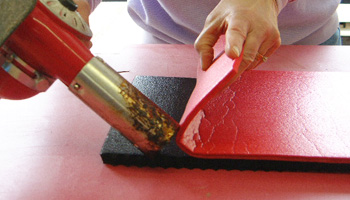
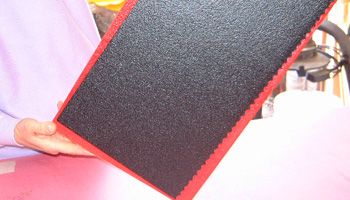
Detailed Lamination InstructionsSide "A" is top with holes cut in for tool control. Side "B" is contrast colored foam sheet on bottom. Place side "A" upside down on a protected work surface. Protect with laminate scrap, acrylic or Plexiglas panel oversized for the drawer being laminated. 3M Adhesive 77 spray glue can be used in the next step to tack the foam sheet "A" in place before heating. The glue is not part of the lamination process - it is merely meant to hold the foam in place during heating. Tack face of side "A" to Plexiglas or laminate to secure. The glue also protects the face of the foam from the heating process, helping to eliminate heat distortion. (Glue is an option and this step can be omitted if the adhesive is a problem in some environments.) After placing side "A" upside down, lay side "B" over side "A". Side "B" should be upside down also. Place heavy item - a 24" steel bar works well - over half of the foam to be laminated. Pull back side "B" to heavy item. Hold this rolled back foam in left hand. (For right-handed people) Apply heat to the small "V" where the sheets come together. Using a smooth up-and-down motion swiftly move the heat gun until the foam sheet becomes shiny (a few seconds), rolling the "B" foam over the area just heated, and in doing so pressing sides "A" and "B" together. Work this process to the edge of the foam. Remove bar and flip laminate base around 180 degrees and repeat this process for the other half of the drawer. Gently remove foam from laminate base and cut to final size.
|
|

